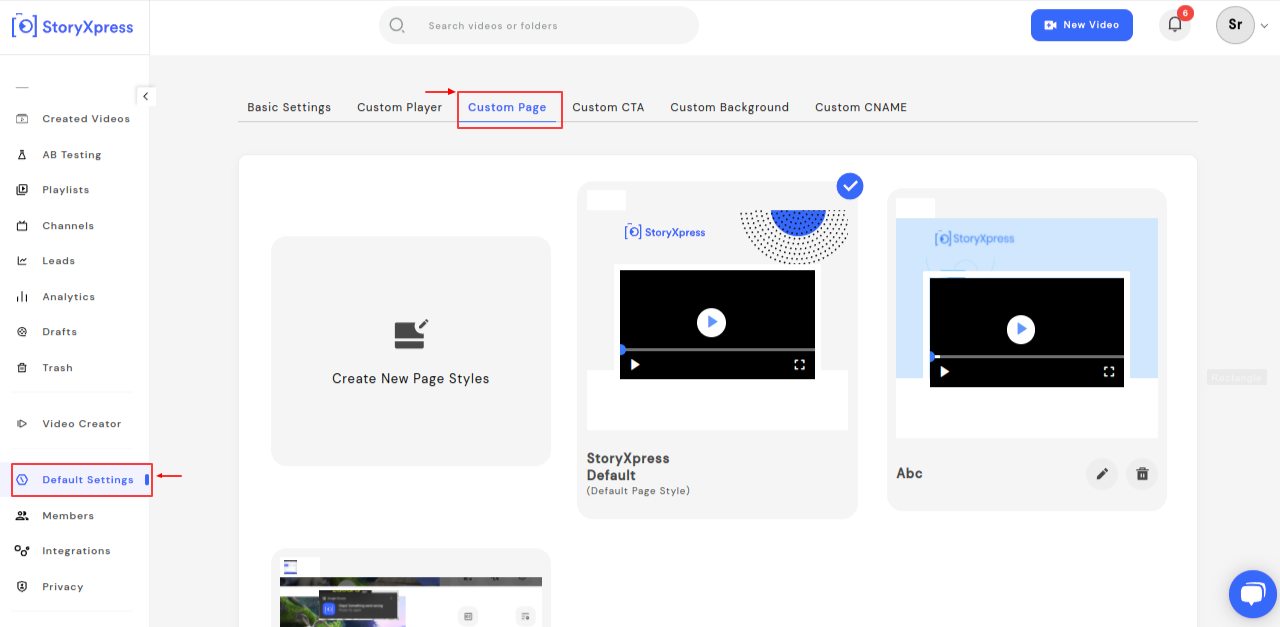
Now set up your own page style which represents your brand in a few quick easy steps:
1. Go to dashboard.
2. Select ‘Default settings’
3. Access the‘ custom page’ option

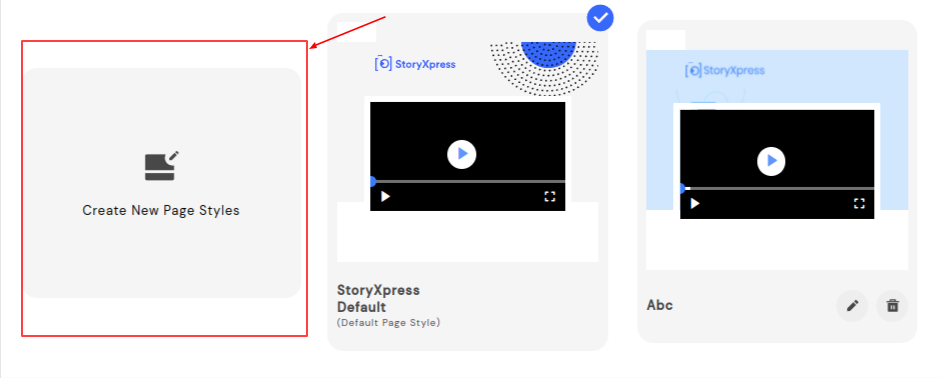
PS: Page style is already set to StoryXpress default page style. Select ‘ create new page style to create a new one.

StoryXpress 26
This will lead to customizable options as shown in the screenshot below.
Customizable options
1. Enter custom page style name:
Name your customized page as per your content.
2. Show logo:
To show your own brand logo, upload a picture of your logo.
3. Update logo URL:
You can also add a logo URL (landing page URL) which will take your viewers to the desired page.
4. Banner customization:
You can also customize the banner by uploading a picture or selecting the brand colour and right gradient.
5. Hide video title:
To hide the title of the video from the viewers, turn on the toggle.
6. Hide creator details:
To hide the creator details from the viewers, turn on the toggle.
7. Hide description:
To hide the video description from the viewers, turn on the toggle.
8. Show favicon:
Turn on the toggle and upload your own brand’s favicon for your viewers to view it.
9. Page background colour:
Customise the page background colour as per your requirement.
10. Text Colour:
Customise the text colour as per your requirement.
Once you have made all the changes, you can hit save to create your own page style.
This page style will be set as default, however, you can create different styles and use them whenever you want.


 Free Screen Recorder for Chrome


